
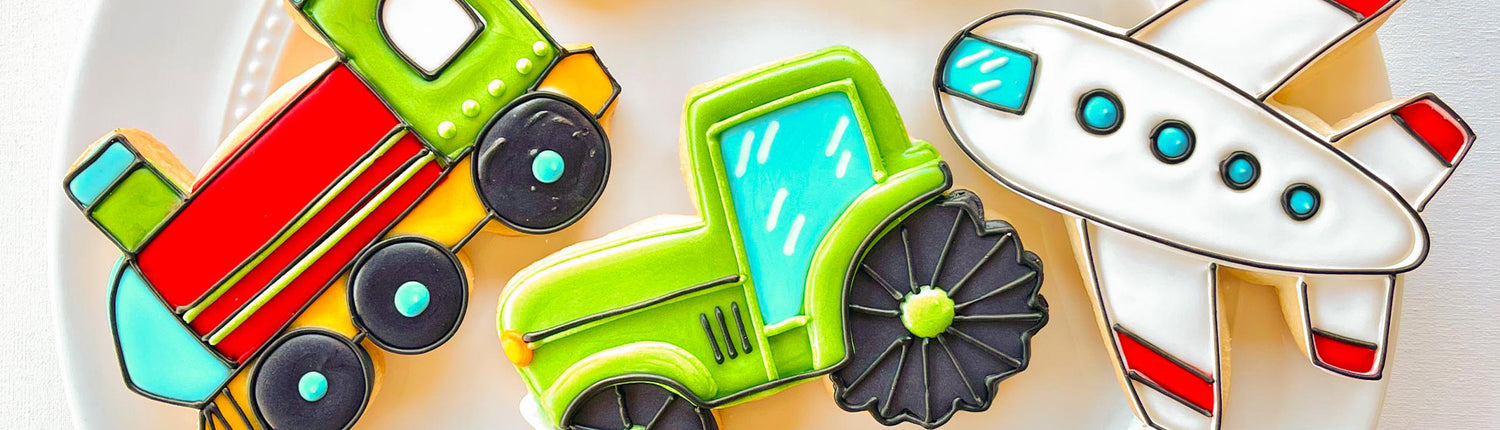
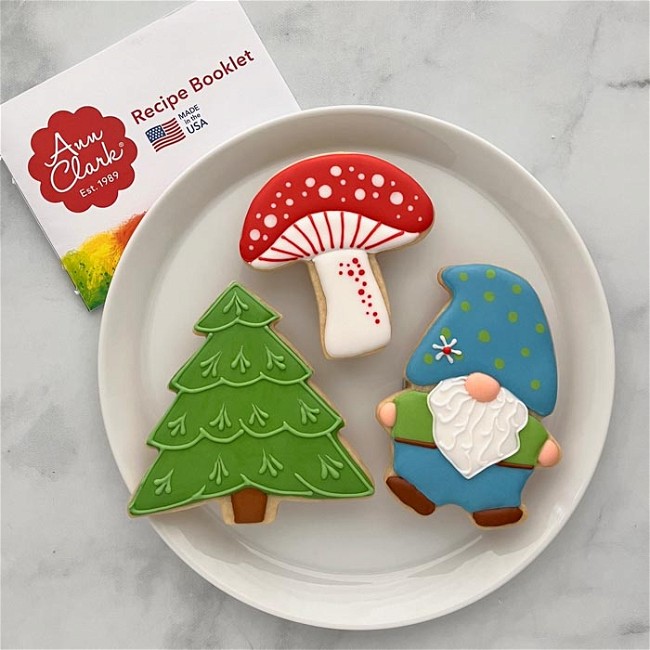
How to Decorate a Cute Gnome Cookie
He’s versatile. He’s adorable. He is one of those shapes you’ll find yourself returning to again and again. Learn how to decorate this adorable gnome shape with woodsy colors. This basic design can be replicated in green to make a leprechaun for St. Patty’s Day, or red and green to create a Christmas elf.
- Print recipe
- Share on Twitter
- Share on Facebook
- Share on Pinterest
- 8 Tipless Piping Bags
- Bright White Food Coloring
- Leaf Green Food Coloring
- Royal Blue Food Coloring
- Mocha Brown Food Coloring
- Super Black Food Coloring
- Spatulas & pint glasses to fill your piping bags
- Scissors
-
1.
Bake and cool cookies before decorating. Make sure cookies are fully cooled. If they are warm, the icing will run off of them. Make royal icing. Learn how to mix different consistencies of royal icing here>>
Prepare the following icing colors:
Piping Consistency:
White Dusty Blue (create dusty blue by mixing royal blue with a tiny amount of mocha brown and super black food coloring)
Green
Light Brown
Flood Consistency:
White Dusty Blue (create dusty blue by mixing royal blue with a tiny amount of mocha brown and super black food coloring)
Green
Light Brown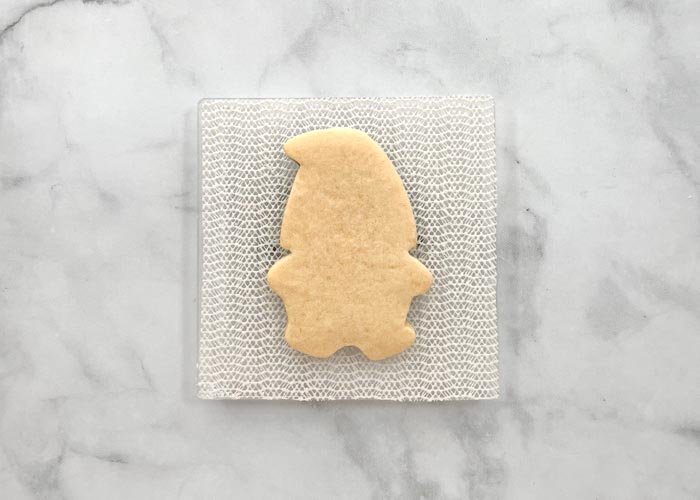
-
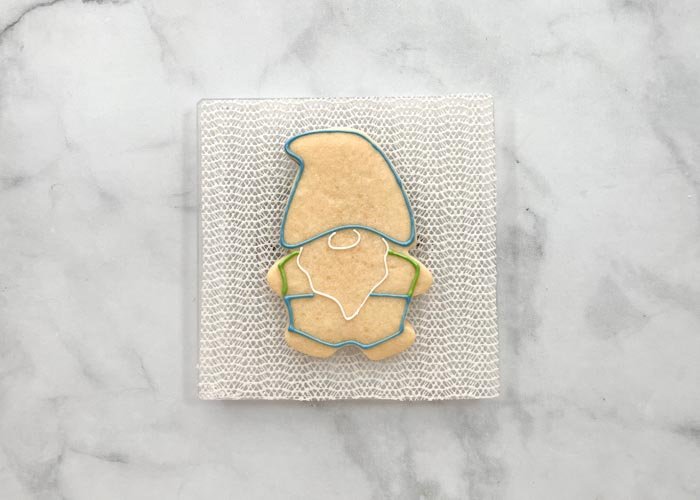
2.
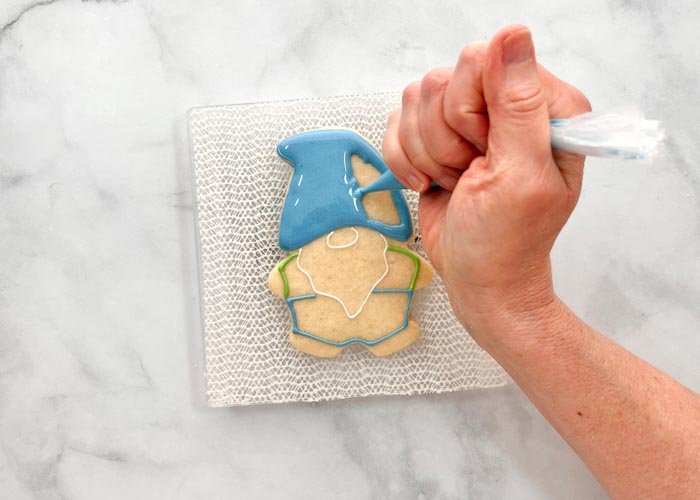
Outline the details of the gnome as shown.

-
3.
You’ll want to outline each shape-the hat, beard, nose, shirt, and pants individually as shown. This will ensure good definition between these details.
-
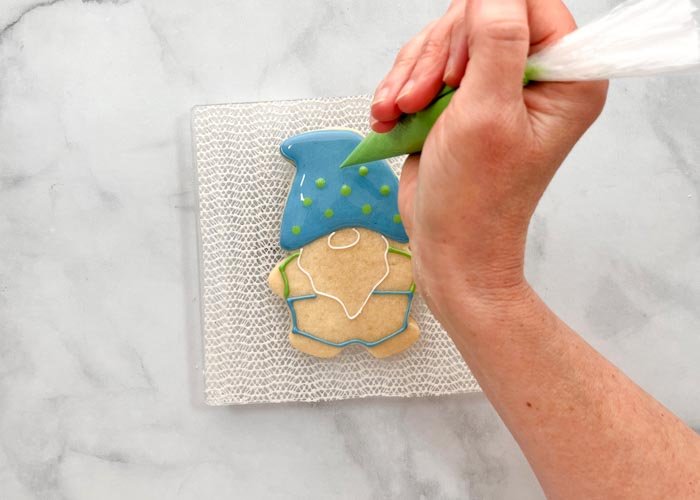
4.Next, flood the hat in blue icing. It may help to stop piping just shy of your outline and use a toothpick or scribe tool to coax the icing to the edges. Using a toothpick or scribe to move around the icing will also eliminate any air bubbles.
-
5.While the blue hat is still wet, pipe green dots using green flood consistency icing. Piping while the icing is still wet means the dots will blend in with the flood icing. If you'd like more definition between the dots and the base flood icing you can wait for the flood to dry before piping the dots.
-
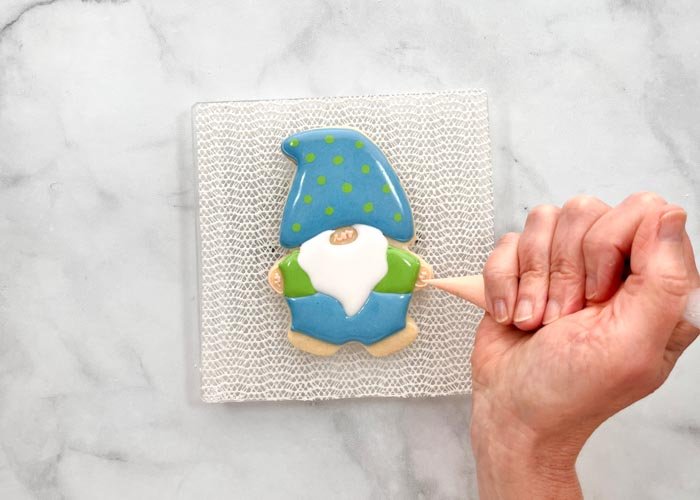
6.Now, use your green piping consistency icing to outline and pipe squiggles in the gnome shoes. The squiggles will help prevent the flood icing from collapsing or cratering as it dries.
-
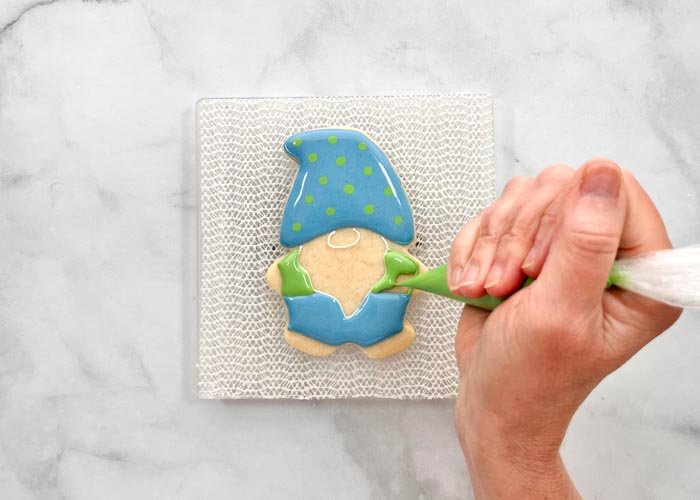
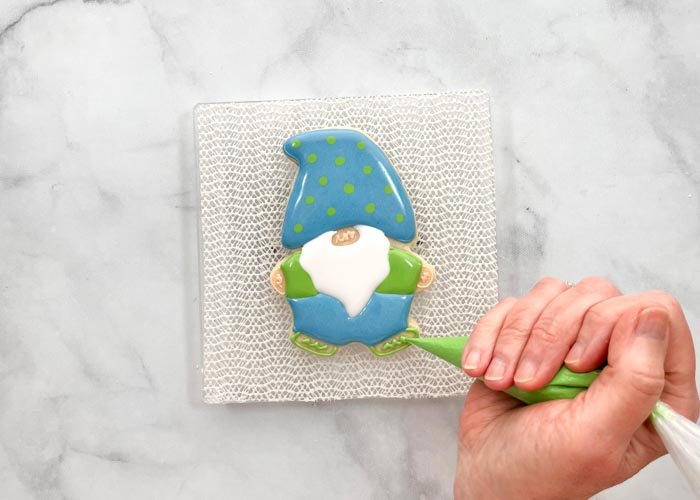
7.Using blue flood consistency icing, flood the pants of the gnome, using a scribe tool or toothpick to move the icing around. Let dry until just crusted over, 30-60 minutes. Waiting until it is dry will prevent icing bleeding, so you'll maintain a good definition between the pants and the shirt. Once dry, flood the green shirt of the gnome, careful to avoid the beard.
-
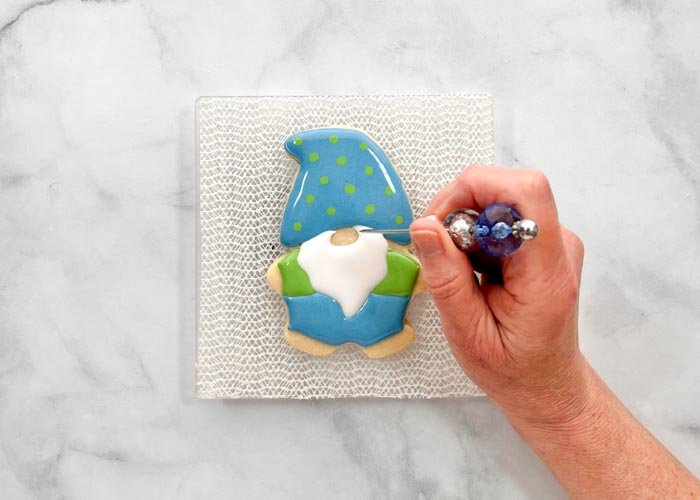
8.Now, flood the beard using white flood consistency icing. Use a toothpick or scribe tool to ensure full coverage and to eliminate any air bubbles. Be sure you are leaving space for the gnome's nose. Wait for the icing to dry, 30-60 minutes.
-
9.Using brown piping consistency icing, outline and pipe squiggles in the hands and nose of the gnome.
-
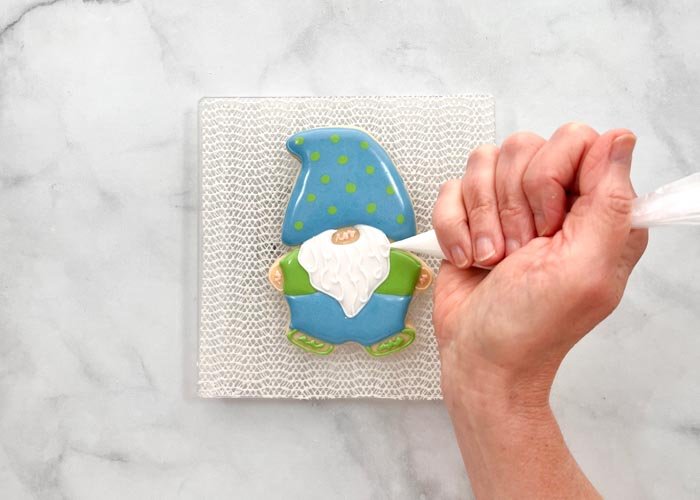
10.Time for details! Use white piping consistency icing to create swirls in the gnome's beard.
-
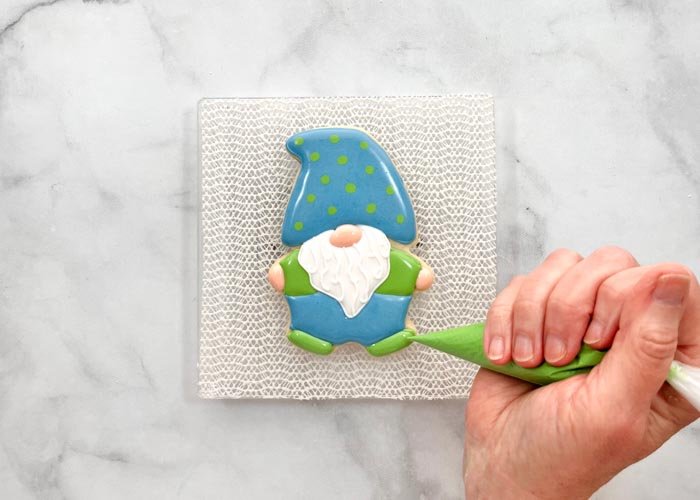
11.Use brown flood icing to fill in the gnome's nose and hands, lending them a glossy & puffy look. Then, use green flood consistency icing to do the same for the gnome's shoes.
-
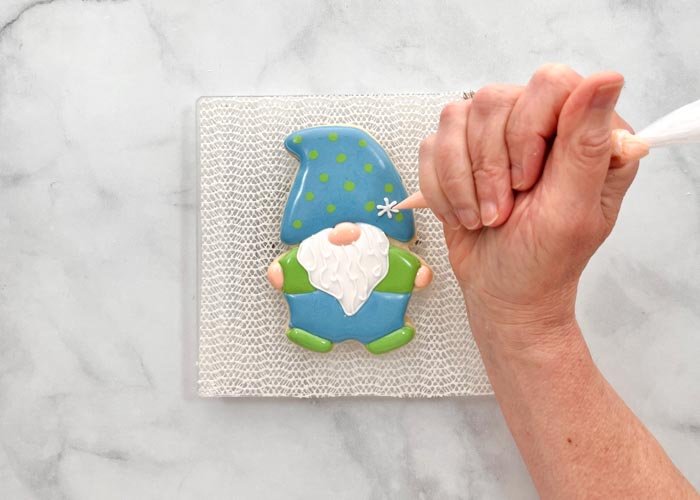
12.
More details! The white icing really pops against the colors used on this gnome, and so we added a little flower to the hat. Feel free to detail away-add buttons to the gnome's shirt, suspenders to the pants, or additional details to the hat.
-
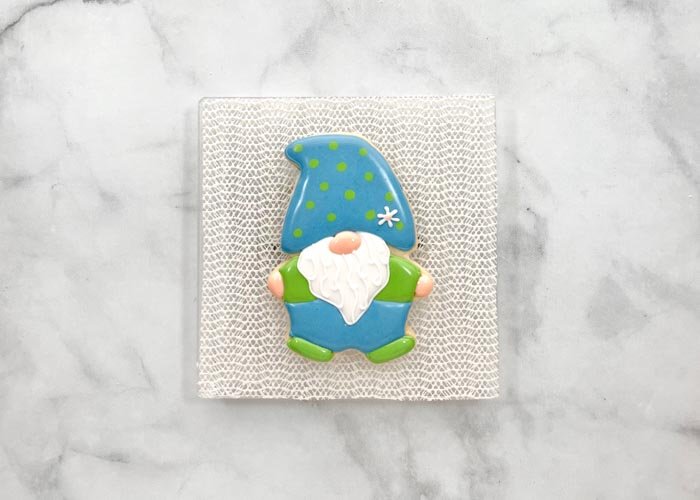
13.
And there it is! Now that you know how it's done, you can decorate these from the comfort of your gnome!
-
14.
WATCH: How to Decorate a Woodland Gnome Sugar
Recipe Video
Cookie with Royal Icing Cookies decorated by Mary Mansfield of The Flour Gardener
